How To Dye With Natural Indigo | Indigofera Tinctorum
Written by Elisabeth Culshaw
I am a natural dyer and I love working with Indigo. It is such a special dye one has to feel grateful for. It takes so much time, patience, energy to produce 1kg of Indigo paste. The Indigo vat is a very special dye pot which creates beautiful blues.
I always work with Natural Indigo and I love the strong blues achieved with themazi dyes Indigo powder. All Indigo are not equal and the degree of purity of the Indigo powder you work with will help achieving a fast and strong reduction in your vat.
In my studio I run a very large Fructose Indigo vat that I use for light blues and to dye wool, and a Ferrous vat which is perfect for dark colours on cellulose fibres but to give strong blues to wool the Hydrosulphate vat is perfect. It is also a great way to start working with Indigo as preparing a Hydrosulphate vat is fast and the result is guarantee.
It is a great vat to prepare if you are working on a temporary project. My favorite recipe for it is below:
How to Dye With Indigo?
For a 10 Litre vat you need:
- 1 non reactive material dye pot (with a lid) and a 2 litre glass jar.
- 10 litres of water (hot at 50 degrees centigrade)
- 50 grs of Natural Indigo powder from Themazi
- 1 pestle and mortar to wet your Indigo
- 60 grs of Soda Ash
- 15 / 20 grs of Hydrosulphate (Spectralite).
- One spoon to stir.
- Ph paper
- Some strips of cotton to test the colour.

Step by Step Indigo Dyeing Recipe:
1. Add 8 liters of hot water to a dye pot and reserve 2 litres to prepare your stock (a mini vat that will be easier to reduce than the whole 10 liters), in a glass jar.
2. Pop your Indigo powder into a pestle and mortar, add little by little water and mix it crushing the Indigo powder into a paste.
3. Add the paste to some water in the glass jar (half of the content of the glass jar) and stir in a circular movement to distribute well.
4. In a small glass jar add the soda ash into a small quantity of water and stir well. When mixed add to the jar where the Indigo is already.
5. Stir really well and when dissolved sprinkle on top the Hydro sulphate (Spectralite). Stir well to distribute in a clockwise movement then the other way.
6. Cover the top but not too tight as with the reduction some "steam" needs to escape.
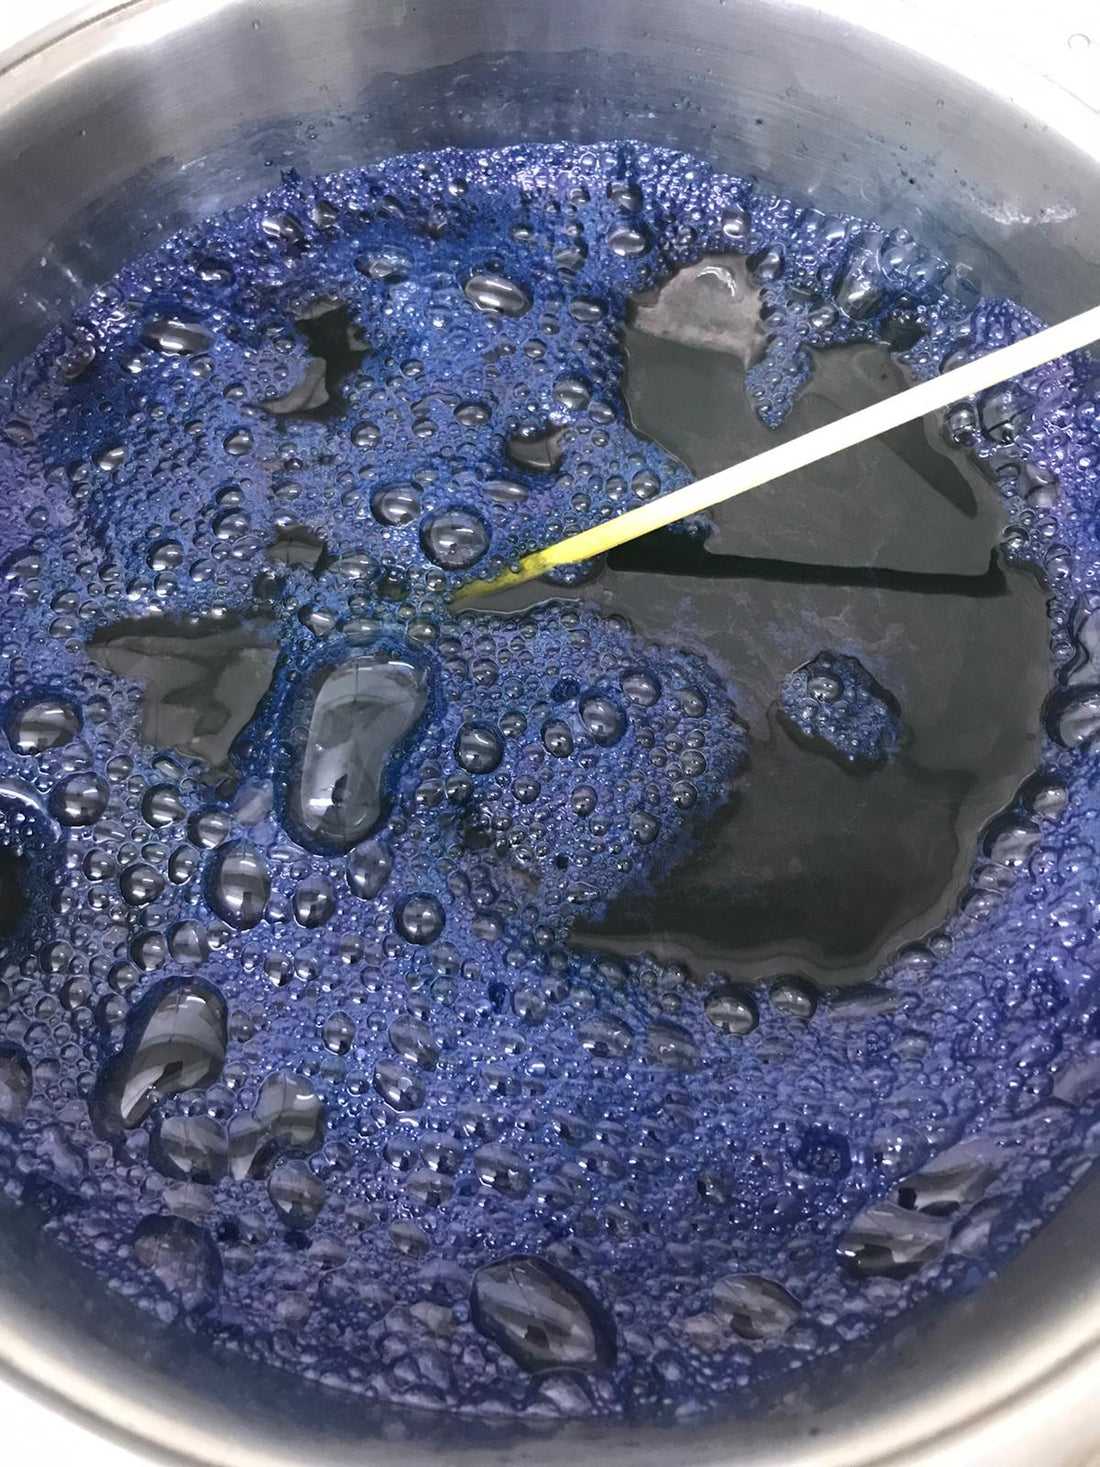
7. After one hour the liquid should have become green and you will have a lot of blue bubbles at the top. Stir again for a few minutes right down to the bottom.
8. Leave to rest for a good few hours.
9. After a minimum of say 5/6 hours you should have a dark green liquid, with some blue iridescent bubbles at the top (the flower).
10. The Ph of your vat should be around 11.
11. The next day transfer the content of your stock jar into the rest of the hot water in the larger dye pot. Stir well and leave to rest.
Your vat is ready to dye with indigo.
